Gatsby.js v2.26で新しい機能として追加された「File System Route API」を試してみました。
レポジトリはこちら
https://github.com/RyoheiTomiyama/gatsby-file-system-route-api/tree/master/app
ContentfulCMSから記事を取得してGatsbyで表示させたので、基本的な使い方とポイントを紹介します。(なお、Gatsbyはgatsby-starter-defaultから作成しています。)
File System Route APIについて
英語が読める方はこちらに詳しく書かれています。
https://www.gatsbyjs.com/blog/fs-route-api
簡単に説明すると、ブログなどの記事ページなどを生成するときに、以前はgatsby-node.jsに設定を何十行も書かなければいけなかったものが、固定ページ同様pages/フォルダにテンプレートファイルを作成するだけで、動的な記事ページが生成できる機能です。
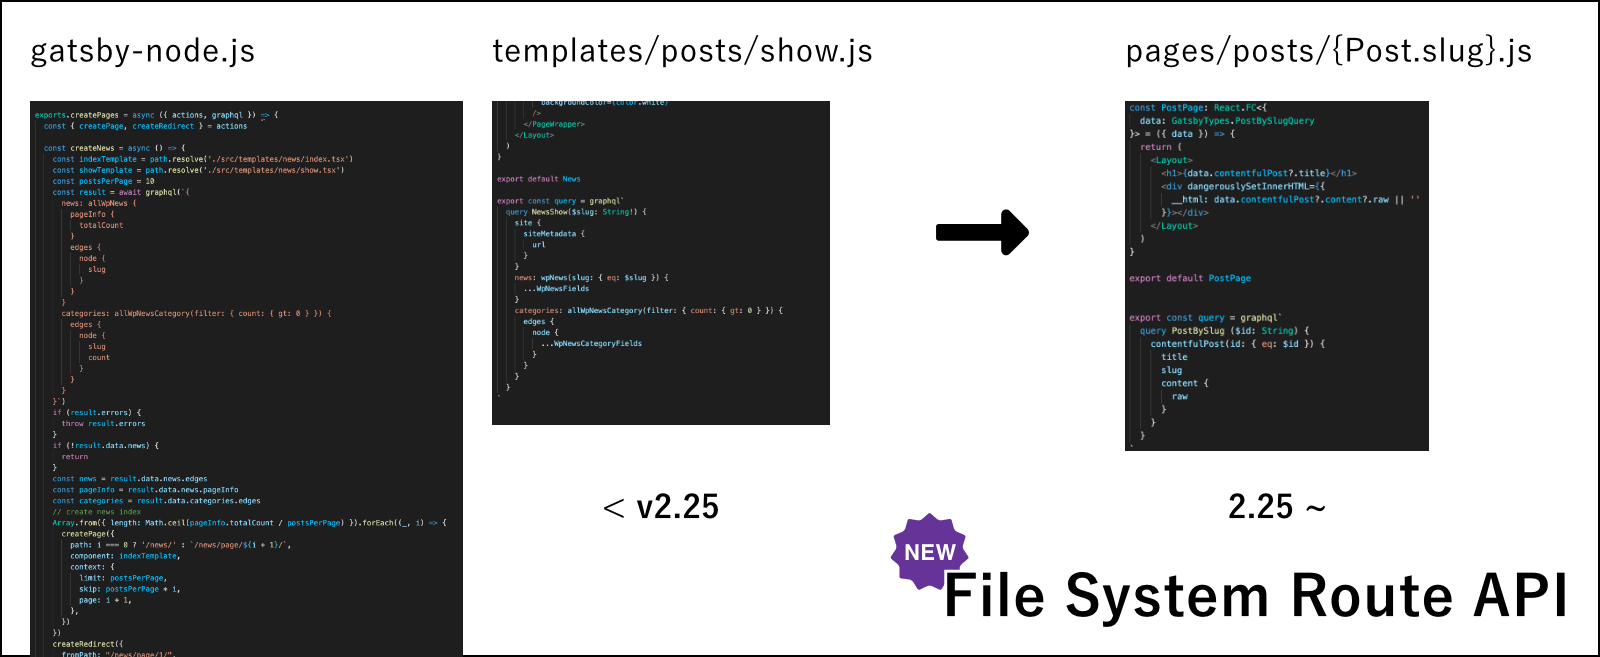
ファイル名でルート設定ができるからFile System Route APIなのでしょう。
File System Route APIの使い方
では、さっそく使い方を紹介します。
まずはGatsbyの基礎構築。
Gatsbyインストール
まずはGatsby.jsのgatsby-starter-defaultをインストール
$ gatsby new app https://github.com/gatsbyjs/gatsby-starter-default
$ cd app
(gatsbyコマンドをインストールしていなければ、yarn global add gatsby-cli)
ContentfulCMSから記事を取得するプラグインをインストールと設定
$ yarn add gatsby-source-contentful
require('dotenv').config({
  path: `.env.${process.env.NODE_ENV}`,
})

module.exports = {
  plugins: [
    {
      resolve: `gatsby-source-contentful`,
      options: {
        spaceId: process.env.CONTENTFUL_SPACE_ID,
        accessToken: process.env.CONTENTFUL_ACCESS_TOKEN,
      },
    },
  ],
}
TypeScript周り
TypeScriptを使いたいので、TypeScript周りを整備します。
(使わない人は省略してください。)
$ yarn add gatsby-plugin-typegen
gatsby-configs.js
module.exports = {
  plugins: [
    {
      resolve: 'gatsby-plugin-typegen',
      options: {
        outputPath: 'types/graphql-types.d.ts',
      },
    },
  ],
}
tsconfig.json
{
  "compilerOptions": {
    "baseUrl": ".",
    "module": "commonjs",
    "target": "ES5",
    "jsx": "preserve",
    "lib": ["dom", "es2015", "es2017", "esnext"],
    "strict": true,
    "noEmit": true,
    "isolatedModules": true,
    "esModuleInterop": true,
    "skipLibCheck": false,
    "noUnusedLocals": true,
    "noUnusedParameters": true,
    "removeComments": false,
    "paths": {
      "@/*": ["src/*"]
    },
    "preserveConstEnums": true,
    "typeRoots": ["./types", "node_modules/@types"]
  },
  "include": ["./src/**/*", "./types/**/*"]
}
ここからがFile System Route API
Gatsbyの基礎構築が以上で完了です。
(実際にサービス開発で使うときは、ESLint, Prettier, Manifestなどの設定もしましょう。)
gatsby-source-contentfulでCMSとの連携は済んでいるので、記事ページを作成していきます。
作成するのは、1ファイルだけです。
pages/posts/{ContentfulPost.slug}.tsx
import React from 'react'
import { graphql } from 'gatsby'
import { renderRichText } from "gatsby-source-contentful/rich-text"
import Layout from '../../components/layout'

const PostPage: React.FC<{
  data: GatsbyTypes.PostBySlugQuery
}> = ({ data }) => {
  return (
    <Layout>
      <h1>{data.contentfulPost?.title}</h1>
      <div>{
        renderRichText({
          raw: data.contentfulPost?.content?.raw || '',
          references: [],
        })
      }</div>
    </Layout>
  )
}

export default PostPage

export const query = graphql`
  query PostBySlug ($id: String) {
    contentfulPost(id: { eq: $id }) {
      title
      slug
      content {
        raw
      }
    }
  }
`
このファイルを作成するだけで、とりあえずContentfulCMSから記事を取得してページの生成ができます。
例) http://localhost:8080/posts/hello-world
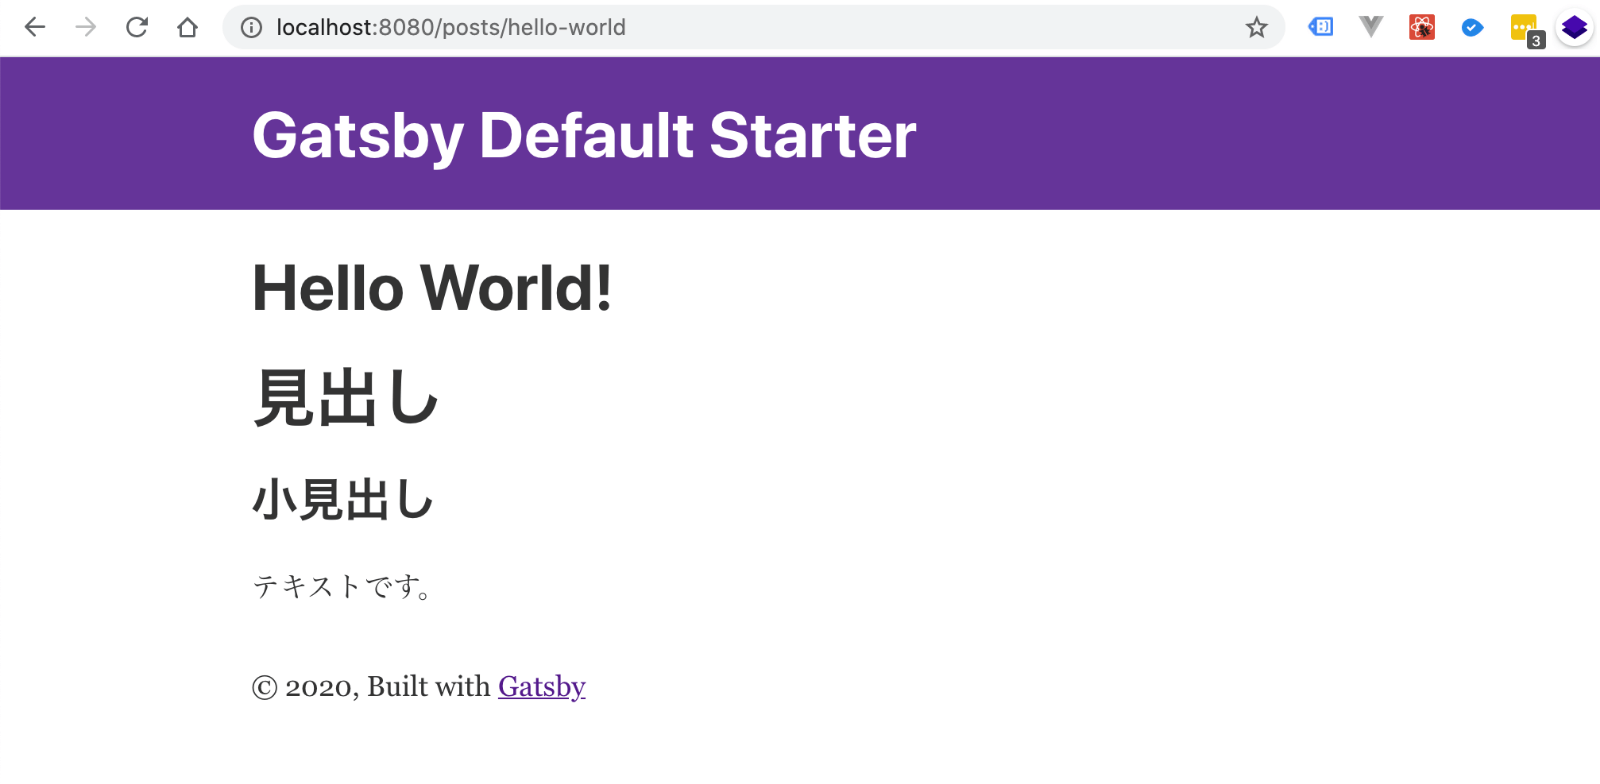
作成するポイントは2点。ファイル名とGraphQLの書き方です。
ファイル名で、SchemaとFieldを指定する
記事ページのファイル名を{ContentfulPost.slug}.tsxとしました。
このファイル名で記事を取得する条件を指定できるのがFile System Route APIの特徴です。
ContentfulPostがSchema名でslugがField名となっています。
このSchema, Fieldというは、http://localhost:8080/__graphqlで確認できるもの連動しており、ContentfulPost.slugで記事を取得できます。
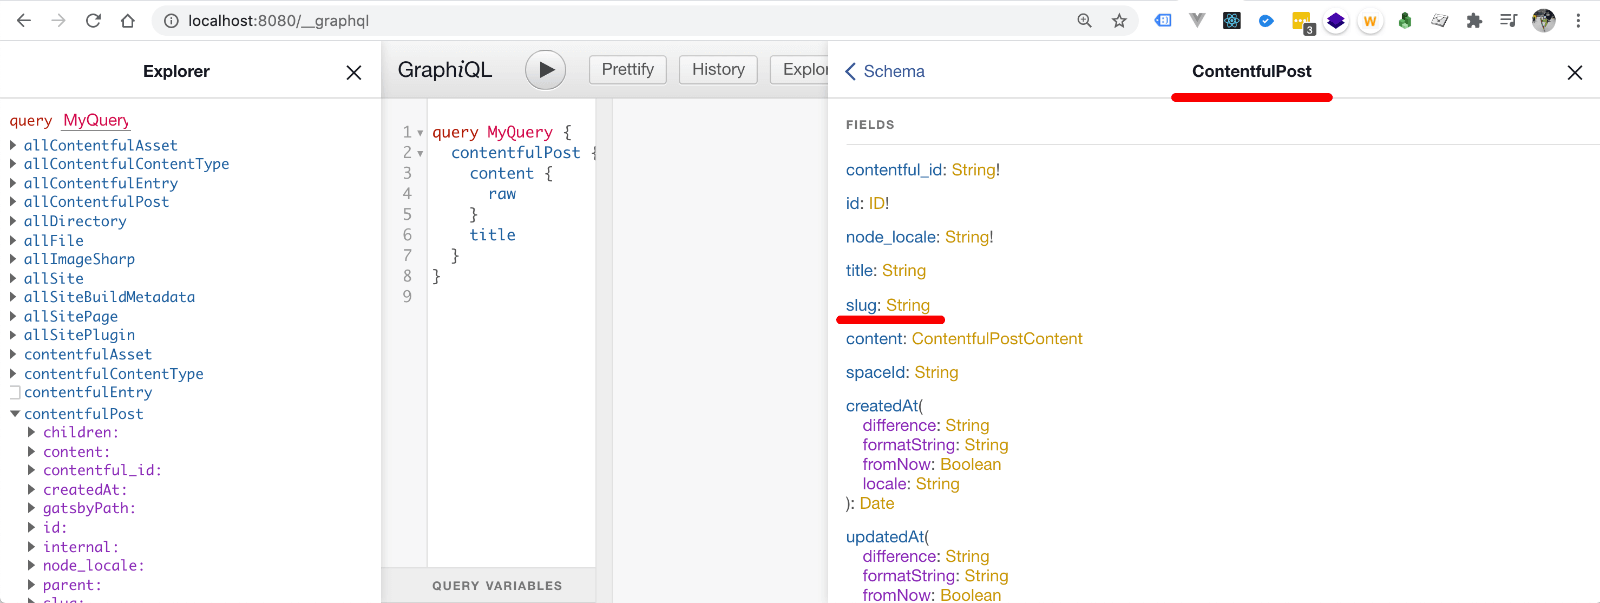
先の例だと、http://localhost:8080/posts/hello-world の場合は、ContentfulPost.slug = hello-worldである記事を取得しています。
idで取得したい、http://localhost:8080/posts/103としたい場合は、`{ContentfulPost.id}.tsx`とします。
Wordpressの場合は、{WpPost.slug}.tsxとします。
Markdownの場合は、{MarkdownRemark.parent__(File)__name}.tsxとします。
(この指定方法については、下記補足で説明します。)
GraphQLのqueryの書き方
今回は、ContentfulPostのslugから記事を取得します。その場合の書き方がこちら。
export const query = graphql`
  query PostBySlug ($slug: String) {
    contentfulPost(slug: { eq: $slug }) {
      title
      slug
      content {
        raw
      }
    }
  }
`
ファイル名で指定したFieldで検索することができます。
もしくは、以下のようにid での検索もできます。
query PostBySlug ($id: String) {
  contentfulPost(id: { eq: $id }) {
     // something fields...
  }
}
{MarkdownRemark.parent__(File)__name}.tsx のような場合は、id を使ったほうがシンプルになりそうですね。
まとめ
Gatsby.js v2.26からは、{ContentfulPost.id}.tsx のようなファイル名にすれば、gatsby-node.js にcreatePagesメソッドで、記事データを取得して、テンプレート指定して、といった煩わしい設定をせずに生成できるようになりました。
しかし、一覧ページでページネーションをしたり、2つ以上のSchemaを使う場合には、まだ対応していないので、gatsby-node.js で生成する必要があるみたいです。
補足
今回のContentfulの設定
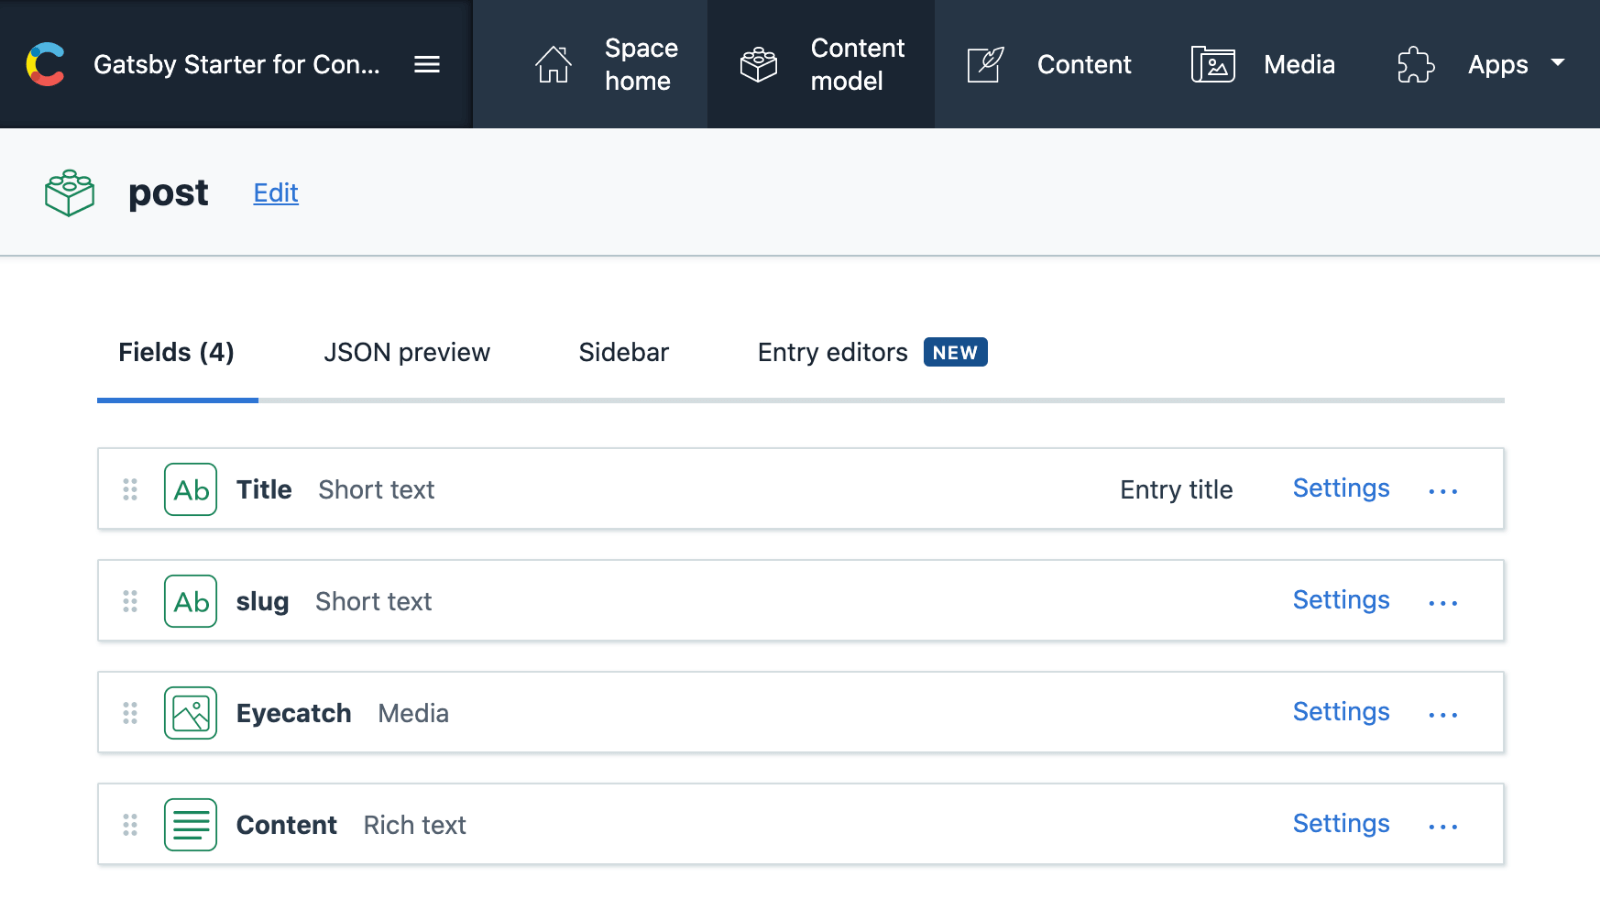
ContentfulPost というSchemaを使いましたが、これはContentfuleにてpostというSchemaContentを作成しています。
様々なファイル名での指定
シンプルな{ContentfulPost.id}.tsx 以外に、{Product.fields__sku}.tsx、{MarkdownRemark.parent__(File)__name}.tsx のように少し複雑な指定もできます。
それぞれのqueryを見るとすぐ理解できると思います。
{Product.fields__sku}.tsx
allProduct {
  nodes {
    id # Gatsby always queries for id
    fields {
      sku
    }
  }
}
{MarkdownRemark.parent__(File)__name}.tsx
allMarkdownRemark {
  nodes {
    id # Gatsby always queries for id
    parent {
      … on File {
        name
      }
    }
  }
}
{Product.fields__sku}.tsx のように、ネストされたfieldの場合は、__で繋げます。
{MarkdownRemark.parent__(File)__name}.tsx は、マークダウンのファイル名で生成する場合です。
また、今回の指定ではSSGとなり、gatsby buildで静的なHTMLファイルが生成されますが、SPAにしたい場合にも対応しているようです。
詳しくはこちらをご覧ください。
https://www.gatsbyjs.com/docs/file-system-route-api/#creating-client-only-routes
以上になります。
今回作成したリポジトリはこちらになります。
https://github.com/RyoheiTomiyama/gatsby-file-system-route-api/tree/master/app